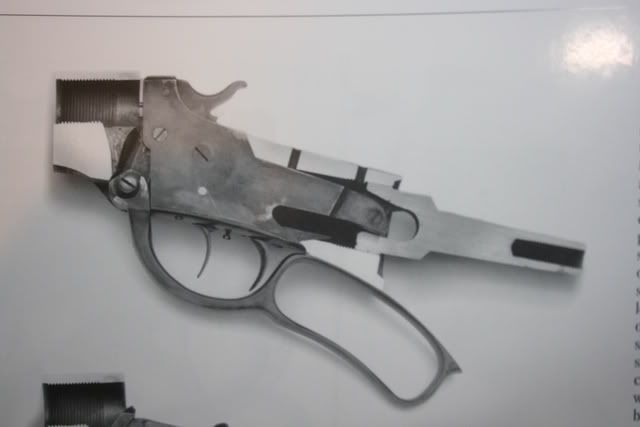
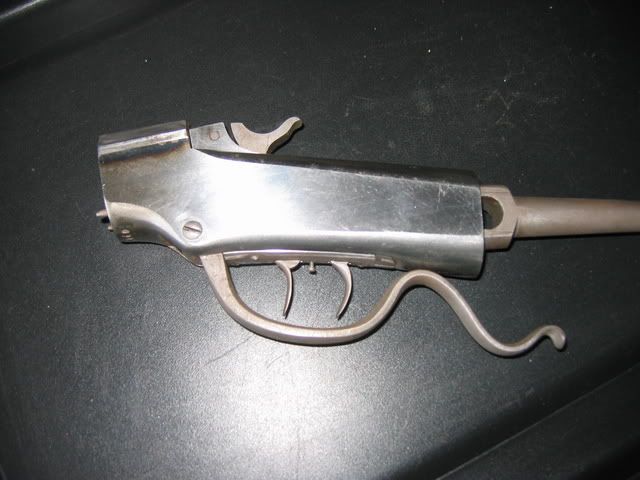
Years ago I bought a Ballard action at a local gunshow. I had no idea what model it was, I just figured that someday I would learn a little and make something with it. It turns out that it is a #5 Pacific model. (Talk about dumb luck!) The action is complete with the exception of the extractor. My plan with this restoration is to completely refinish it, including color case hardening, then send it off to Dale Woody in November for engraving. Dale will be doing the Pacific pattern that he shows on his website. Before I send it to Dale I will have to anneal the frame and repolish it, and recase it when I get it back.
The first thing I did was to mount a new barrel. I'm going to skip this stuff until later and start with the wood.
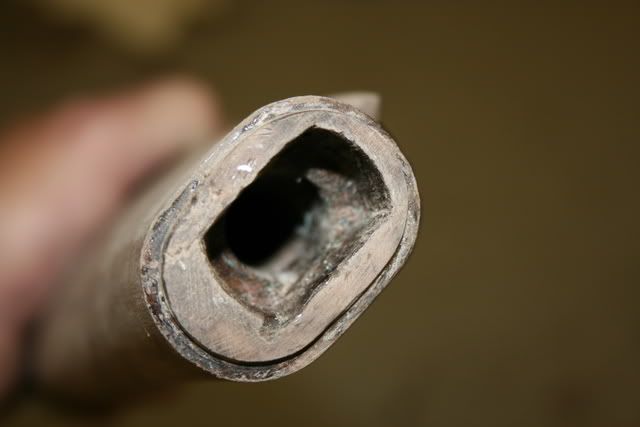
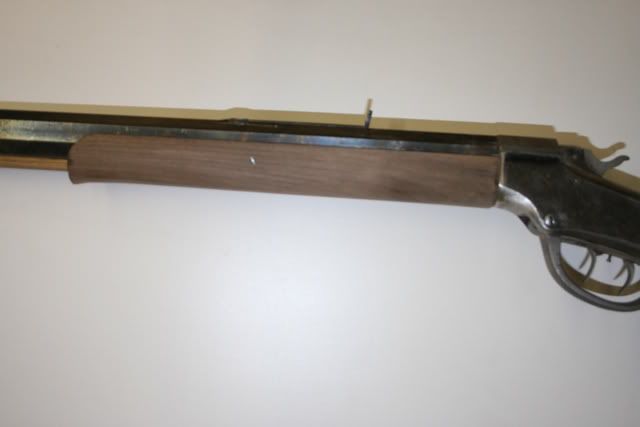
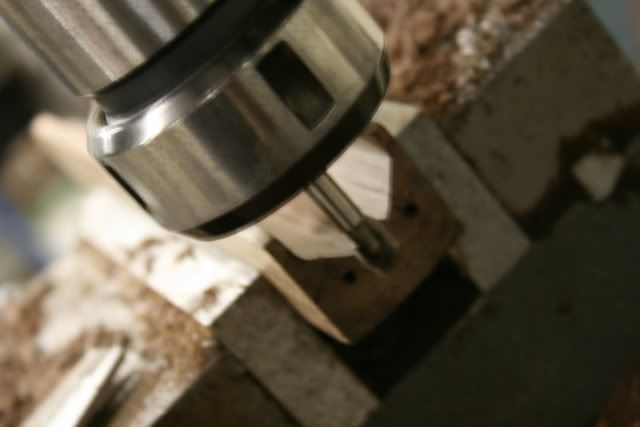
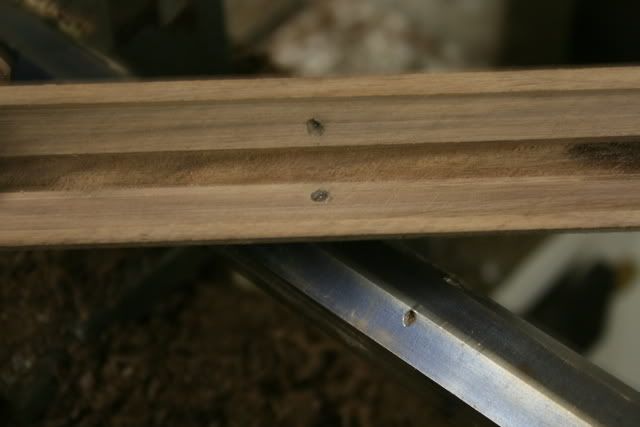
Once the barrel was installed, I made the forearm. I used the vertical mill to cut the octagonal barrel channel. The wiping rod channel was cut using a 1/4" round tip router bit. Th recess in the frame for the wiping rod is slightly lower than the bottom flat of the barrel so that the wiping rod channel has to be sloped.
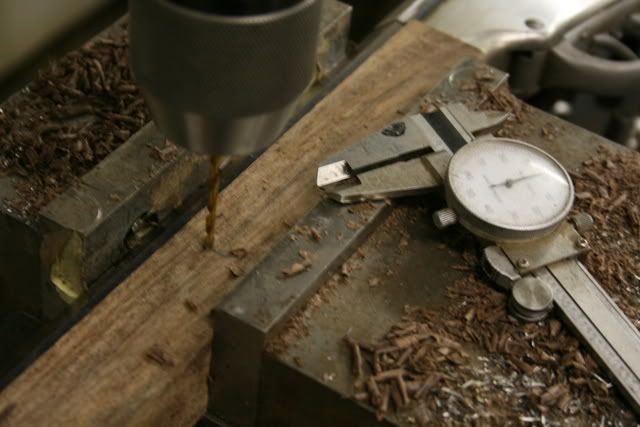
I leave all the sides square so that I can drill the forearm attaching screw hole. The hole has to go through the barrel so by keeping the faces square, I can drill straight through the wood and barrel with out having the drill wander when it hits the metal. The forearm fit to the frame must be perfect before this is done, and make sure you have the hole located correctly before drilling.
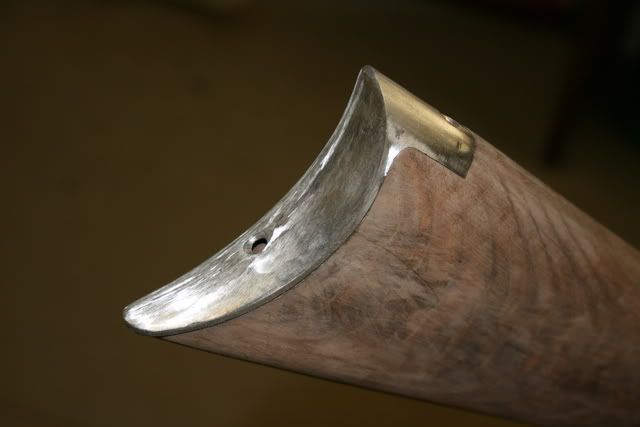
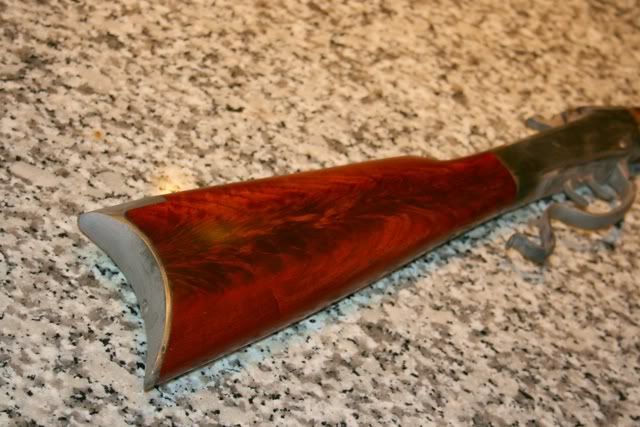
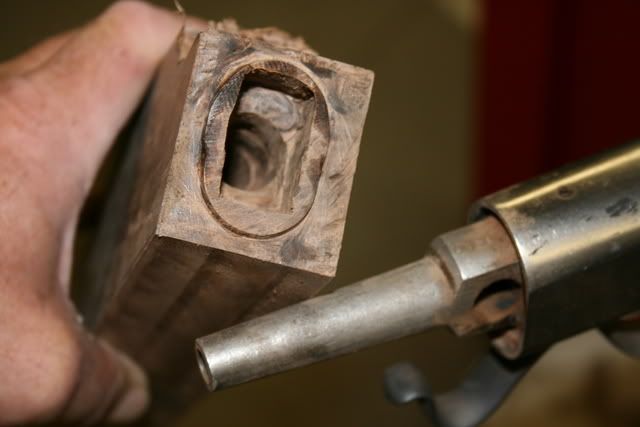
For the buttstock, I started with an oversized piece of crotchwood walnut. The stock uses a through bolt to fasten the stock to the frame. This requires drilling a rather long hole. I've always found that the drill never quite comes out where you expect it to. Thus the oversized piece of wood. The hole governs the layout of the stock. Once the hole is in, then you can start cutting down the wood and laying the outline. I cut the outline and leave all the faces flat until it is completely inletted. After the stock is shaped, I'll do the fine inletting to the frame and buttplate.
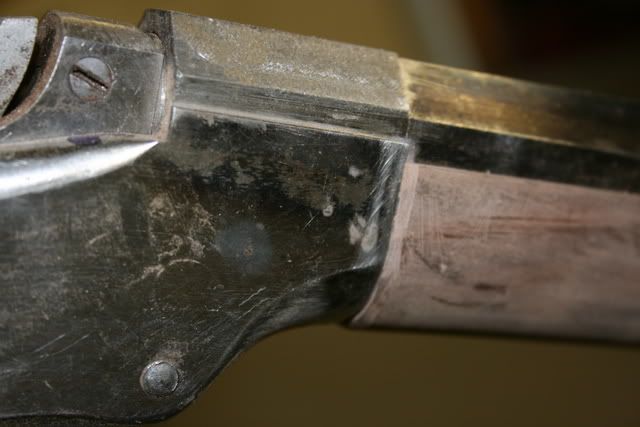
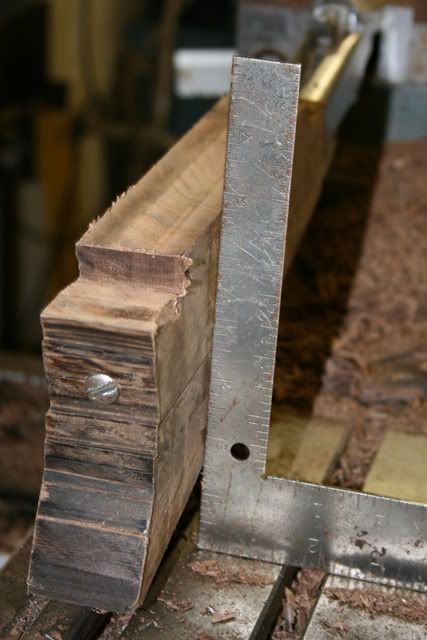
Since I left the faces flat, I can check to see how far out of level I am after everything is tightened up. As you can see, I'm off a smidgeon.
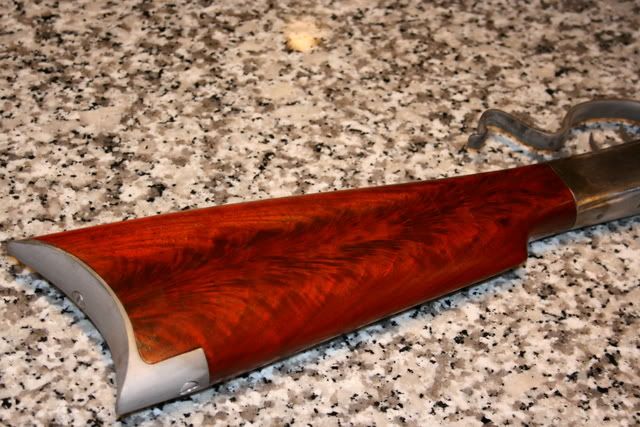
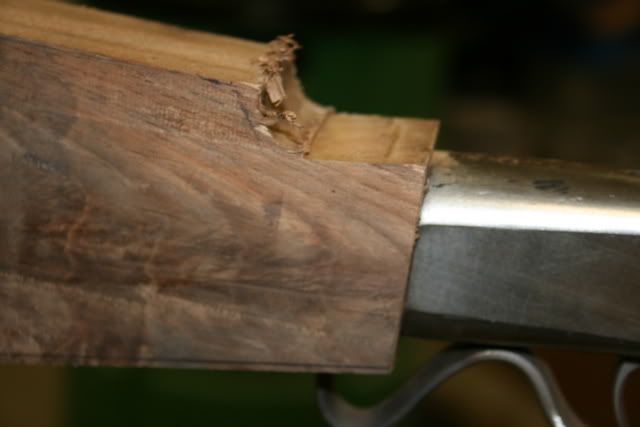
The reason for leaving extra wood:
Before I begin shapping the wood, I will finish inletting the buttplate and screw it on.

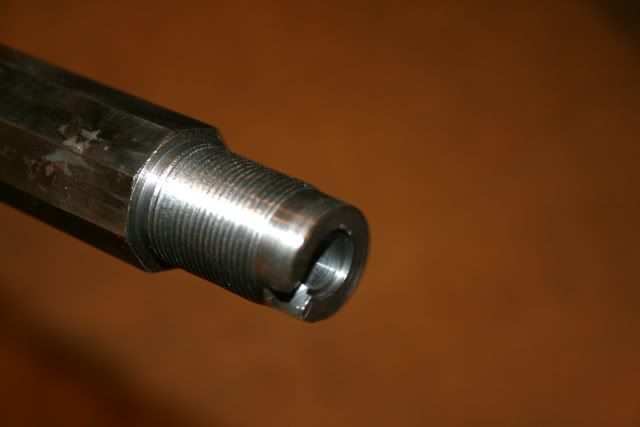
One neat thing about this project is that I was able to use a couple of original Pacific wiping rod thimbles that I had.
On the next post I'll cover the barrel installation.
-jim