The 1889 has a sear lockout bar that prevents the trigger from being pulled if the lever is not completely closed. The bar is held down by very thin spring that is part of the trigger spring. In other words, the trigger spring has a split in it, with the thin portion pushing against the lockout bar, and the wider portion pushing on the trigger. The thin portion of the split spring can break easily which causes the lockout bar to not function properly. The trigger could be pulled even without the lever being fully closed. Other safety features of the 1889 would still prevent the gun from discharging in this case however.
Here's what mine looked like:
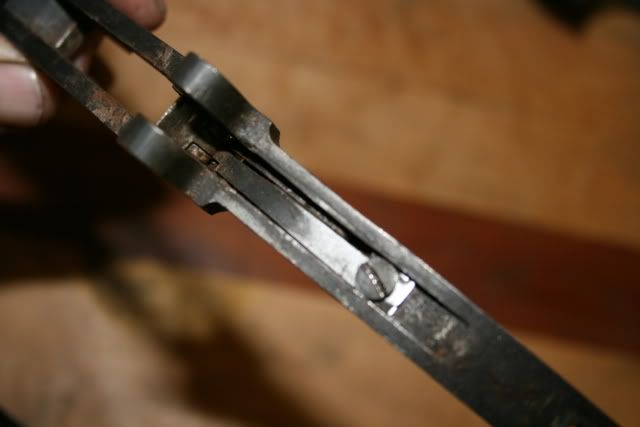
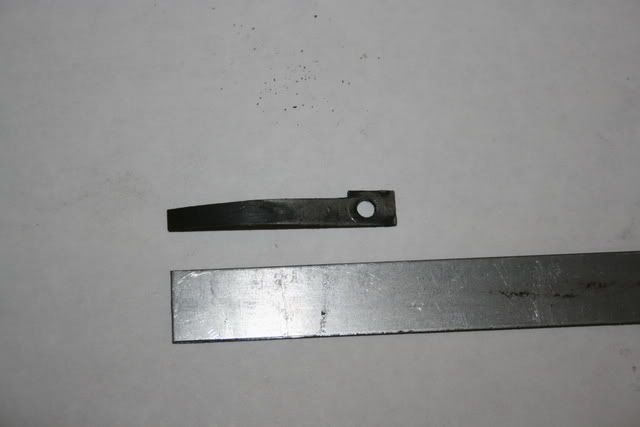
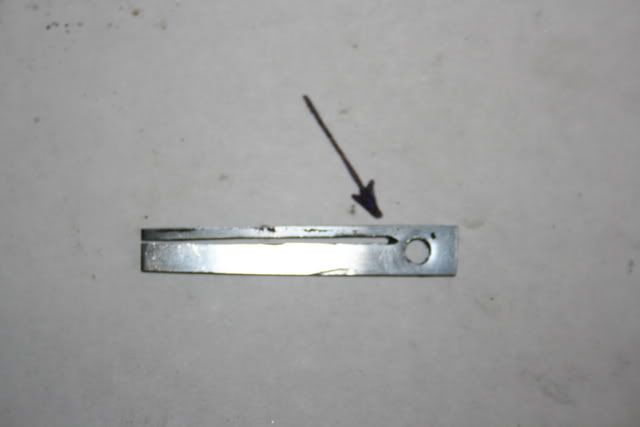
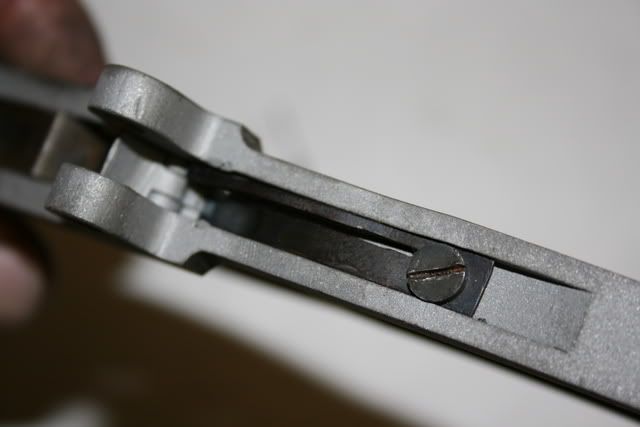
This is what the lockout bar looks like:

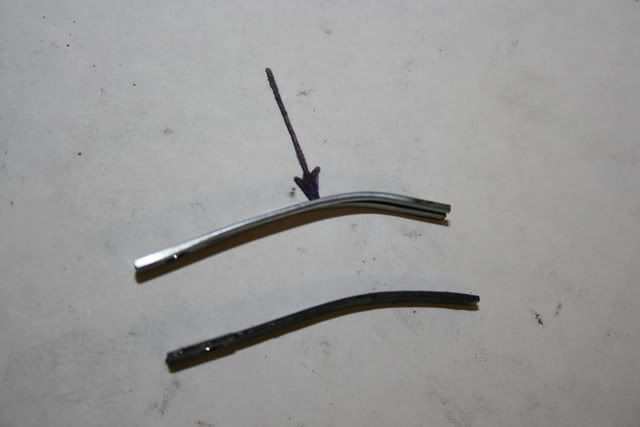
The original spring showing the broken portion:
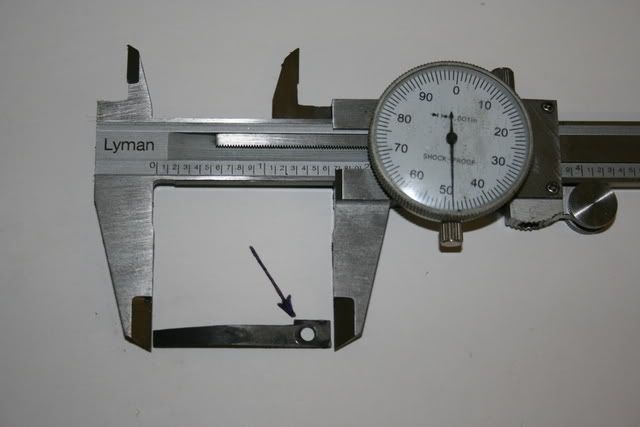
Width of original:
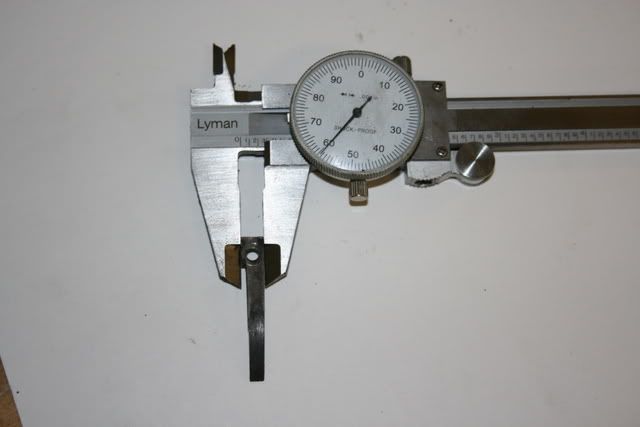
Thickness is .030":
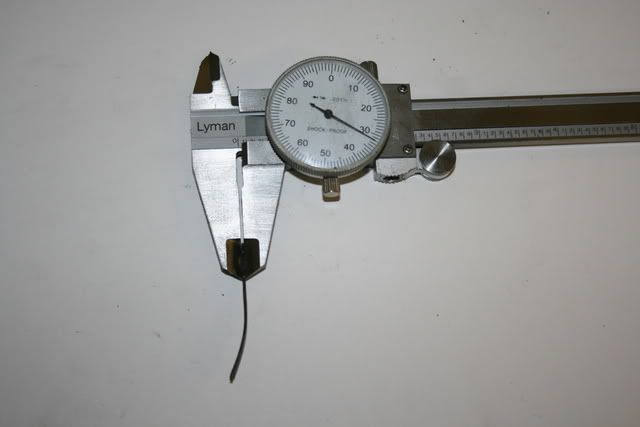
.030" flat spring stock from Brownell's:
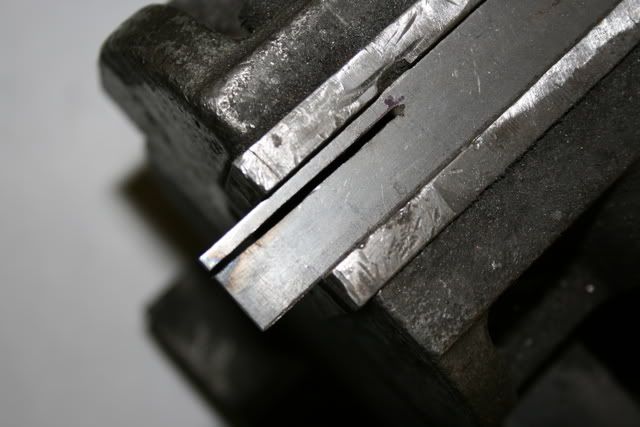
The next step is to cut the split with a Dremel tool with a cutoff wheel. Use the thinest cutoff wheel that they make:
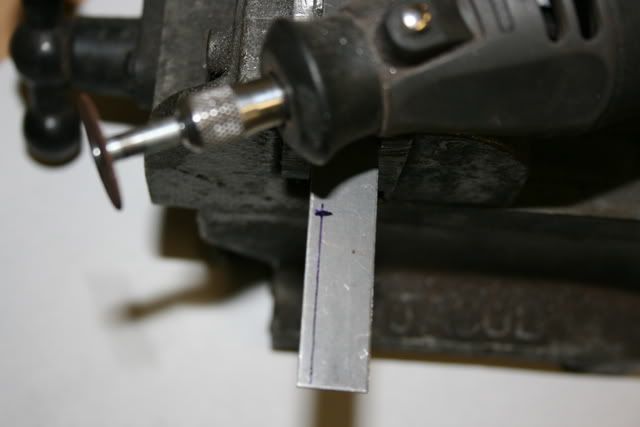
The split is your reference line for laying out the spring:
The next step is to layout the spring. I use machinists blue layout dye. The hole is center punched:
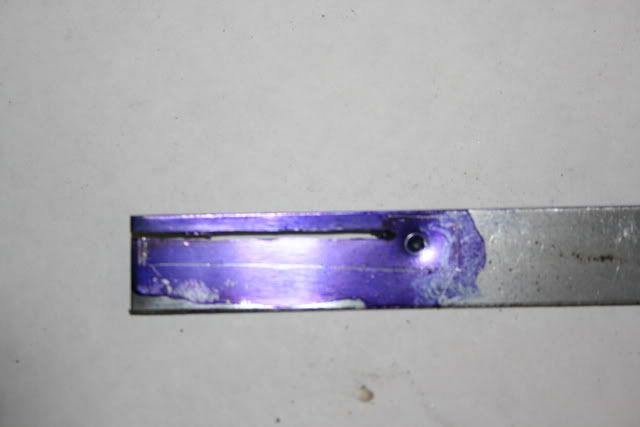
The outline is cut and the hole drilled with a #29 drill:
At this point the spring is soft or annealed and can be bent by hand easily. You can't do this after it is hardened:
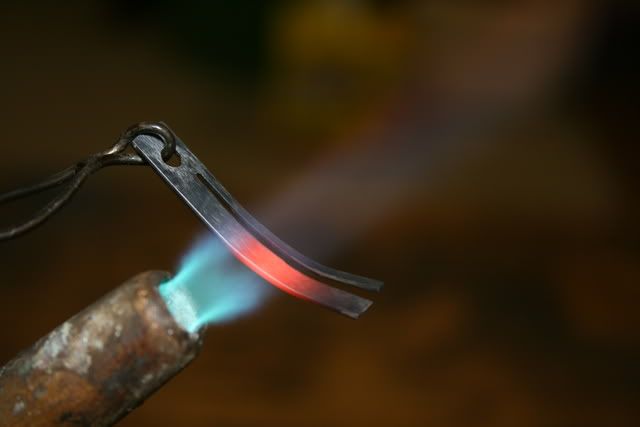
Now that the spring is shaped and bent, the next step is to harden it. Heat evenly with a propane torch, moving the torch so that the entire spring is a bright orange. IT IS IMPORTANT THAT THE ENTIRE SPRING IS HEATED UNIFORMLY. It will be easy to overheat the thin part while the wider part is under heated. Once the spring is uniformly bright orange, quench it in some type of oil like 10 wt motor oil. THE PART IS NOW HARDENED AND BRITTLE! If you try to bend the spring at this point, IT WILL BREAK!!!
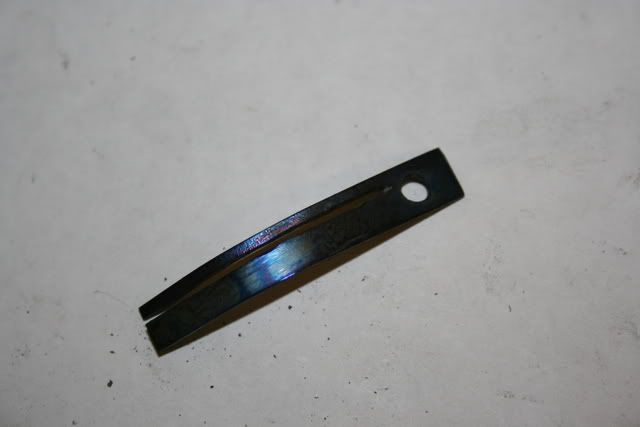
The next step is to temper the spring. This will give the metal it's springy characteristic. First polish the spring so you can see the temper colors form when you heat it. Heat it VERY CAREFULLY with the torch until it turns a "fire blue" color. IT IS
CRITICAL THAT IT NOT BE HEATED BEYOND THE POINT THAT IT TURNS FIRE BLUE! Also be carefull that the thin part is not over heated. If any part of the spring is overheated, it will not spring, but merely bend when deflected. If you screw up, and you probably will because this is difficult to get right, you can simply reheat to bright orange, quench in oil, and re-temper it. When properly tempered, it should have a fire blue color, almost like a nitre blued part:
The finished spring installed in the rifle and checked for function:
-jim