Page 30 of 33
Re: Color case hardening
Posted: Mon Mar 05, 2012 8:14 pm
by Parley Baer
Love the pictures and the work. Keep posting.
Re: Color case hardening
Posted: Wed Mar 07, 2012 1:39 pm
by Jim D
Brad,
Great work!! I'd say that you've got it! Thanks for sharing your experiences and results so that we can keep this art alive.
Jim D
Re: Color case hardening
Posted: Sat Mar 10, 2012 12:17 pm
by JPK
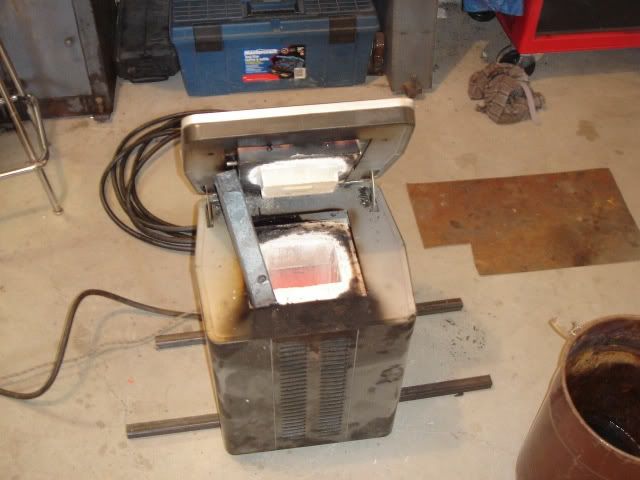
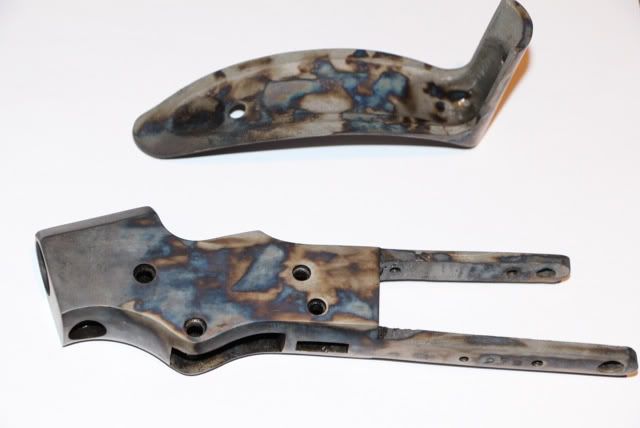
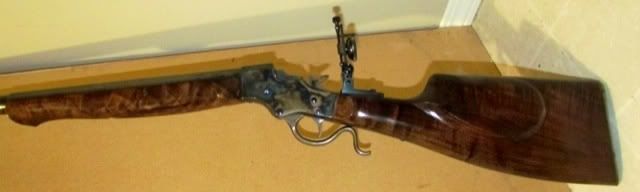
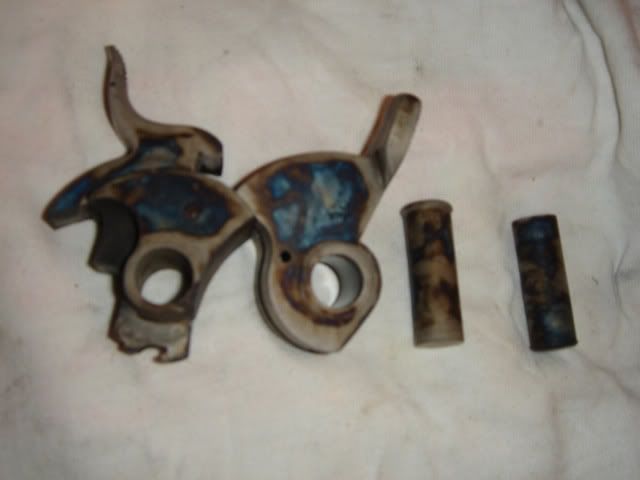
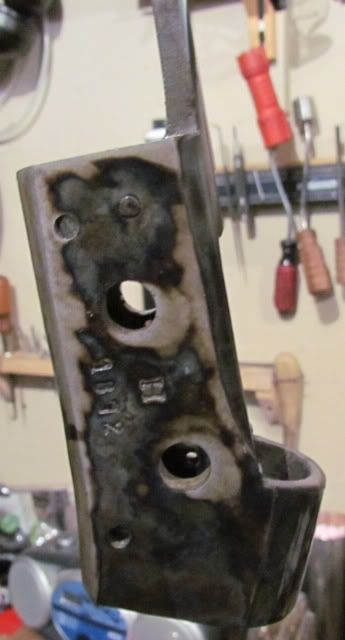
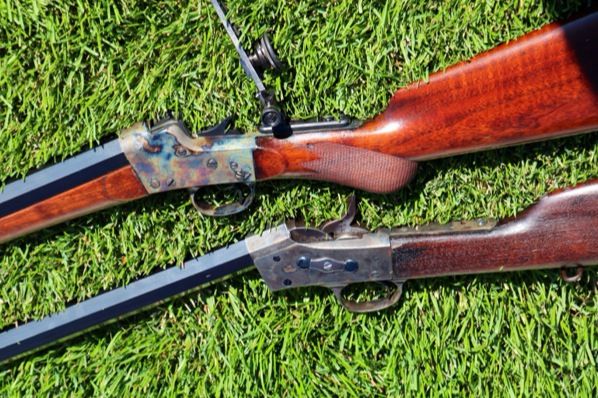
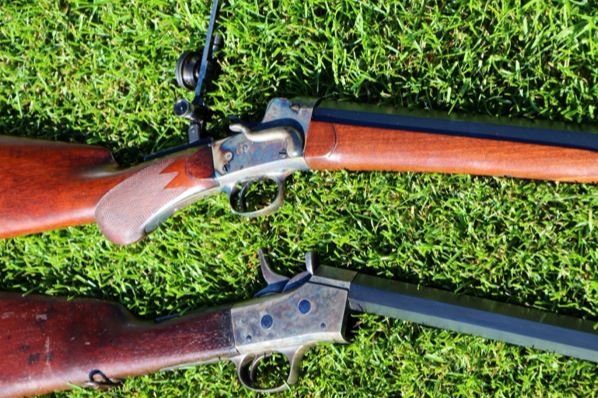
A military rolling block reworked to a sporting rifle by a buddy that I cased for him. One bone to four wood 1450 for an hour then droped to 1200, quenched in 50 gallons of tap water that had a bubbler going from set up thrue quench. No shielding or guides ect. Drawn at 375 for an hour, light oil.

Re: Color case hardening
Posted: Sat May 26, 2012 4:18 pm
by calinb
Not knowing a thing about case color, I ruined the finish on one side of my S&W Elite Silver O/U 12 ga. receiver (I won't relate the sordid details). At least I only paid $1100 for this nice Turkish gun back when S&W discontinued it, but I still feel terrible and it's not worth paying a pro to reverse my blunder. So I'm using my learning experience as an opportunity to learn even more about CCH and the art contained in this thread! My journey will make me feel better--knowing that one day, I will strip the receiver down and attempt to correct the damage myself.
I have a a ceramic kiln that I use for heat-treating. Though it's a top door rather than side door model, I think I will try to develop the crucible handling tools to deal with it. I've gone through this thread but will study it again in fine detail. For now, I was hoping that someone here could help me with a recommendation for the type of steel I should use for my trials and practice. I don't think there's any way to know what metal S&W used in the Turkish UTAS-built factory and I know it will be a crap-shoot when I finally have the knowledge and demonstrated ability to at least attempt to CCH on my shotgun receiver. I could shop for old gun parts at a gunshow or maybe try to CCH one of my Pietta Remington New Army cap and ball cylinders. Here's an online review that someone posted that illustrates what my receiver looked like before I ruined it (actually, I think my CCH was a bit nicer that this one ). There are several photos in the collection:
http://www.flickr.com/photos/33302087@N ... otostream/
From the article here:
http://www.juniorshooters.net/2009/01/1 ... u-shotgun/
Any suggestions would be very much appreciated.
Thanks,
-Cal
Re: Color case hardening
Posted: Mon Jun 04, 2012 1:17 am
by Hornetb
Thanks very much to Jim and the others that have contributed here. This is by far the best resource on CCH for those interested in having a go at the process. For me it has been a long project to get to the final point of actually having a go at the process. I had to source my bone (cow bones), turn it into charcoal, do the same for some hardwood then crush it to as uniform size mix as I could get. I also had to build a furnace to do the process, build several crucibles and then acquire a few "sacrificial" actions to have a go. Due to the excellent information provided here I got my first run at it on the weekend and to say it was a success is an understatement. I'm absolutely happy with how the first effort turned out. Again thanks to all that have contributed and especially Jim for getting the thread started.
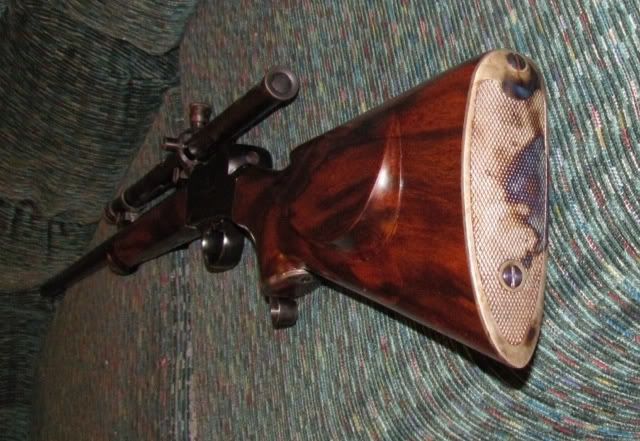
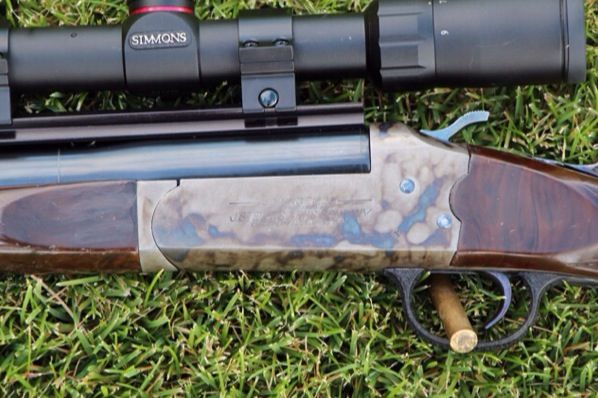
Here are some pictures of the Winchester 62 that I just CCH'd. I have several Marlin lever action restorations that will be next up.

Action was sanded to an even 320 grit, wired into the frame with an angle iron deflection plate. The action was assembled with the trigger plate and bolt in place due to the design of the action making it highly prone to warping. My temps were 1350F (1.5hr), drop to 1100F till stable (30mins) in a mix of 3:1 wood/bone charcoal. Quench water was rain water sourced off our local mountain (the water is very soft) and aerated with an aquarium pump for the 2hrs and run during the quench. Water temp was probably around 10-14 degrees Celsius but I couldn't find my thermometer to know exactly

. I then sat it at 350F for 1hr to draw out any residual stress and hopefully not crack the action when I tweaked it.
Pictures are lacquered in Tru Oil. The only issue I really had was a very little bit of warping (the action wanted to spring close on the trigger guard and lower tang that I anticipated) which I just gently spread back to original and I also had a bit of a problem with flash rusting on internal parts of the action. Next time I'll come straight out of the quench into a generous dose of WD40. In the meantime I'll just gently clean up the internals with steel wool and oil and it will be fine. The outside is fine.
Awesome. Now I just have to finish rust bluing the remaining parts and I'll probably source some new wood. Fun project.
Thanks again, HB
Re: Color case hardening
Posted: Mon Jun 04, 2012 1:19 am
by Hornetb
Grrr...having trouble getting it to accept my pictures, even though they are resized and hosted on photo bucket
I give up.
Re: Color case hardening
Posted: Mon Jun 04, 2012 1:42 pm
by calinb
Can anyone who's monitored dissolved O2 levels tell me what levels they are looking for? From my experiences in the aquarium hobby, I recommend this kit as an inexpensive method to check O2 saturation levels:
http://www.saltwaterfish.com/Red-Sea-Sw ... _4425.html
I've run biological aquarium filters that require 100% O2 saturation to work well (the Hiatt system). From my experience, the best way to achieve full O2 saturation is to pump and circulate the water onto the surface of the tank with a strong surface splash, which keeps the surface of the water agitated across the entire top of the tank. The little air stone bubblers are thought to work, not by adding O2 to the water via the little bubbles, but rather by stimulating the surface of the water to move with the column of rising bubbles. They don't move the surface much and, hence, don't work very well compared to just pumping and splashing the water. A wave machine agitator works pretty well too.
I don't know anything about CCH but I do know how to get an aquarium up to 100% O2 saturation and it's best done with the good stream of return water flow splashing onto the top of the tank from a height of at least an inch or two above the water. It's interested that some posts in this thread reported a reduction in O2 levels with this sort of approach, which is contrary to what I've measured in aquariums. Your mileage obviously may vary!
I think I'll start experimenting with some 4140 scrap after I move my shop and household this summer <sigh>.
-Cal
Re: Color case hardening
Posted: Wed Jun 13, 2012 2:49 pm
by paleoman
I hear you guys talking about O2 levels, what levels are you going for in PPM or MGL?
Thanks
Paleoman
Re: Color case hardening
Posted: Wed Jun 13, 2012 6:29 pm
by calinb
paleoman wrote:I hear you guys talking about O2 levels, what levels are you going for in PPM or MGL?
Thanks
Paleoman
Good Question! I'd like to hear what O2 levels worked for people on this thread. The Red Sea Aquarium kit provides a measure in PPM. It's a bit more complicated to use than most aquarium water test kits. The way it works is you fill a test tube to a line with water and add one of three reagents, one at a time with gentle mixing in between each addition of the new reagent. To get a reading, your add a fourth reagent one drop at a time, with gentle mixing in between the drops (more than gentle mixing would aerate the sample and skew the reading. The color changes from an amber-brown to a light blue. You count drops until the color of the test solution matches the light blue color depicted on a supplied color card. The number of drops added matches the O2 concentration in PPM, e.g. 7 drops added would indicate 7PPM disolved O2. The supplied chart also provides information on O2 saturation levels vs. salinity and temperature. For fresh water it says:
Temp C F Sat Level in PPM
10 50 11.5
20 68 9.1
22 71.6 8.7
24 75.2 8.4
25 77 8.3
26 78.8 8.1
28 82.4 7.8
30 86 7.6
I'm sure there's a chart for temps below 10C/50F somewhere on the web but, obviously, cold water holds much more dissolved O2 than warm water! I wonder if that's the reason that CCH works better with cooler rather than warmer water.
Re: Color case hardening
Posted: Sun Aug 05, 2012 9:25 pm
by JPK
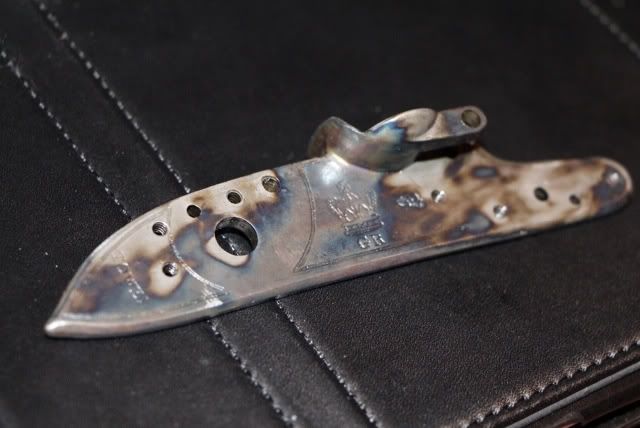
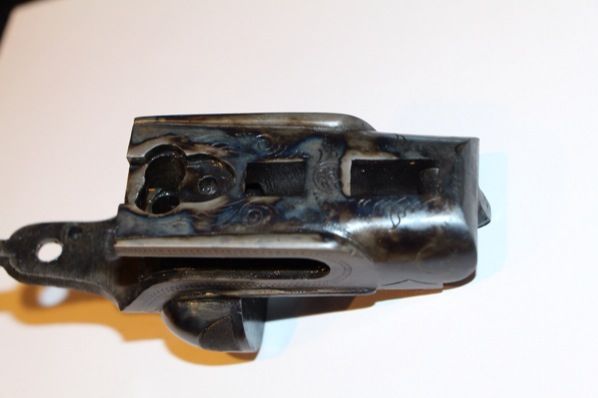
Sorry I don't measure the O2 level in my water but do keep track of the temputer of the heat and charcoal mix. Water is tap water cool but not measured. This is Freund Sharps I did this spring.

Re: Color case hardening
Posted: Sun Apr 07, 2013 11:57 am
by rwnblack
Re: Color case hardening
Posted: Sun Apr 07, 2013 12:03 pm
by oodmoff
Looking really nice. I am envious of your ability.
Re: Color case hardening
Posted: Wed Jun 12, 2013 5:40 am
by gunsbrad
Hello folks looks like some good work being done here. Glad to know people are doing more of this.
My shooting partner has been doing some movie making and I thought you might enjoy some video of our process. Here are a couple youtube videos of doing a Marlin 1895 deluxe takedown pistol grip. Hope you enjoy.
Brad Hurt
http://www.youtube.com/channel/UCYKocnP ... ture=watch
Re: Color case hardening
Posted: Wed Apr 09, 2014 1:18 pm
by zundapp5
Hello to all!
My name is Manuel, gunsmith and I am in Portugal and I'm happy to join the forum!

I have a first question;
Has anyone tried adding Kasenit mixed in charcoal, for Color case hardening process?
Sorry for this stupid question, but I have thought of doing this!
Re: Color case hardening
Posted: Mon Sep 01, 2014 7:40 pm
by rwnblack