Color case hardening
Re: Color case hardening
After reading and learning a lot here I would like to share some small points that I have. The first is a test I did today to see if Quenching at 1100 degrees would produce a hard surface. This hadn't been stated out right so a piece of 8620 was polished and measured then treated as has been suggested. Indeed it is surface hardened! An other thing that may be of use to some is the use of Kasenit and lump charcoal. I use common lump charcoal broken into about 1/2" pieces and mix about a table spoon of Kasenit to about quart volume of charcoal. Heat was 1375 then straight to the water. The goal here is a case hardened part and the color turned out as a happy bonus.
8620 test
Kasenit parts
Many thanks to all that shared in particularly Jim D
8620 test
Kasenit parts
Many thanks to all that shared in particularly Jim D
Re: Color case hardening
JPK,
Looks like you are getting some nice colors. I wonder if you would elaborate a little on your process. Also what are those parts? They almost look like pipe flanges. What kind of steel are they?
Thanks,
Brad Hurt
Looks like you are getting some nice colors. I wonder if you would elaborate a little on your process. Also what are those parts? They almost look like pipe flanges. What kind of steel are they?
Thanks,
Brad Hurt
Re: Color case hardening
The parts are clutch support pivots for junior drag race cars and are made of two inche stock of 8620. The parts were held at tempature for two hours then dumped enmass into tap water that was poured from one 5 gal. bucket into another just before quench. No air bubbles or additives. I had a piece of 1/4" hardware wire laid about an inche from the bottom to catch them. The top test part was done in 1part bone to four parts wood charcoal. I hope this is clearer for all.
Re: Color case hardening
Jim D:
Thank you very much for sharing your hard won knowledge with us. It is a generous and noble act.
Brad:
It looks like pretty good work for a South American. Congratulations.
I just read through this whole thread... well, at least the parts that didn't use a lot of big words. I noticed something in your pictures that may or may not be significant. The farther away from the leading edge of your "cage", the fainter the colors seem to be. It is most noticeable with the "tree". It is a long way betwixt the square plate at the bottom of the tree and the parts hung on the sides. Dunno if it is cause and effect or coincidence.
Are you still pleased with that furnace? It looks like a lot of furnace for the money.
Glenn
Re: Color case hardening
Glenn,
That's high praise from a feriner.
I do like this furnace. I would recommend anyone that is interested in a heat treat furnace to contact Evenheat. They have a large assortment of furnace. They are relatively cheap, parts are cheap, and the programmable brain box has lots of features. If I were just smart enough to talk to it on it's level there's no telling what it might be able to do.
Thanks,
Brad Hurt
- marlinman93
- Distinguished Expert
- Posts: 2917
- Joined: Sun Nov 10, 2002 1:22 pm
- Location: Portland, Oregon
Re: Color case hardening
Brad,
It seems you've really taken to this casehardening process and you're getting some nice reults! Keep up the great looking work! (the rest of thoe guns ain't too shabby either!)
Marlin lever actions 1870's-WWI, Ballards, and single shot rifles!
-
- Beginner
- Posts: 20
- Joined: Sat Feb 21, 2004 9:25 pm
Re: Color case hardening
I had my 1969 Marlin 94 in 44 mag converted to a Cowboy about 10 years ago and then later CCed by a really talented gunsmith.
He is out of the business now but this is what he did. Pictures are after conversion (original finish) and after CC.
What do you think?
http://s27.photobucket.com/albums/c189/ ... %20Marlin/
DD
He is out of the business now but this is what he did. Pictures are after conversion (original finish) and after CC.
What do you think?
http://s27.photobucket.com/albums/c189/ ... %20Marlin/
DD
Re: Color case hardening
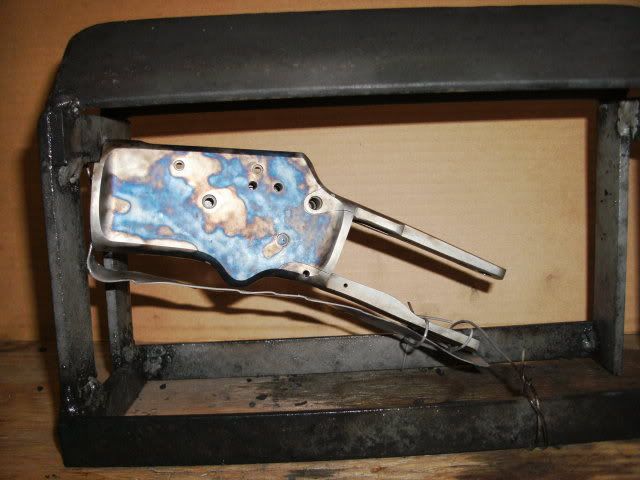
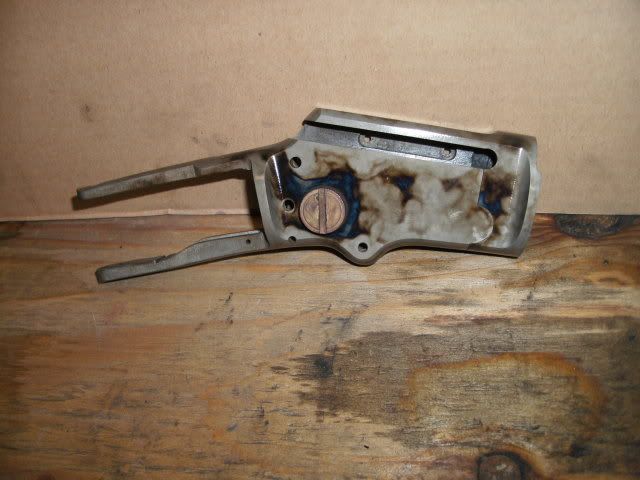
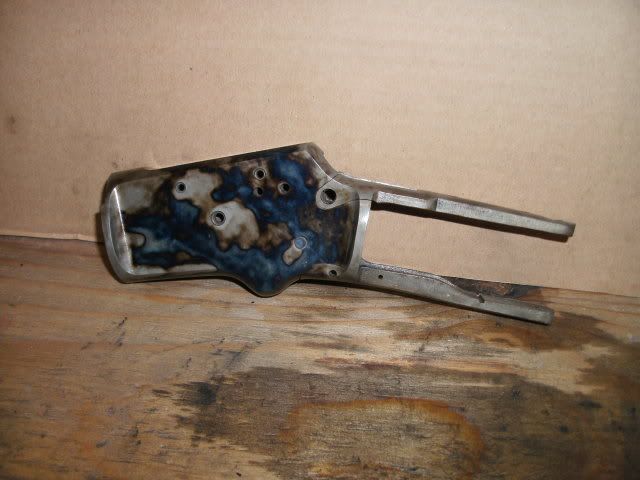
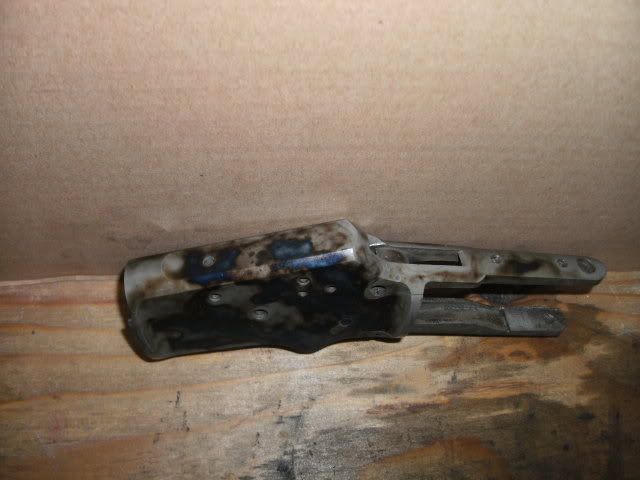
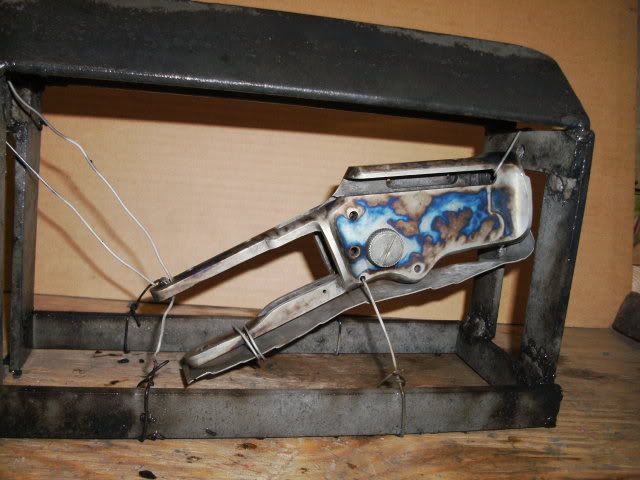
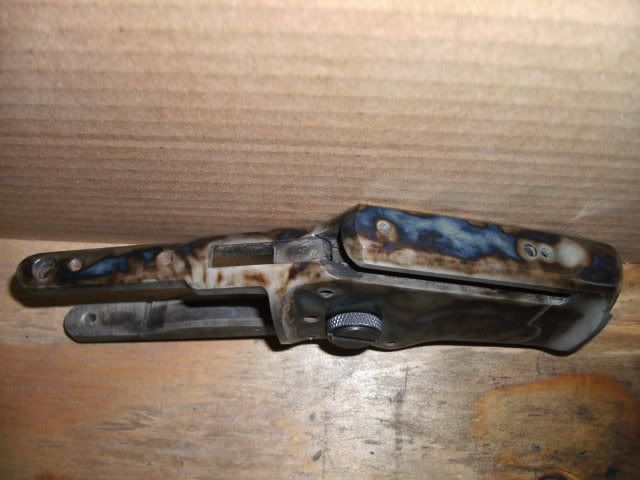
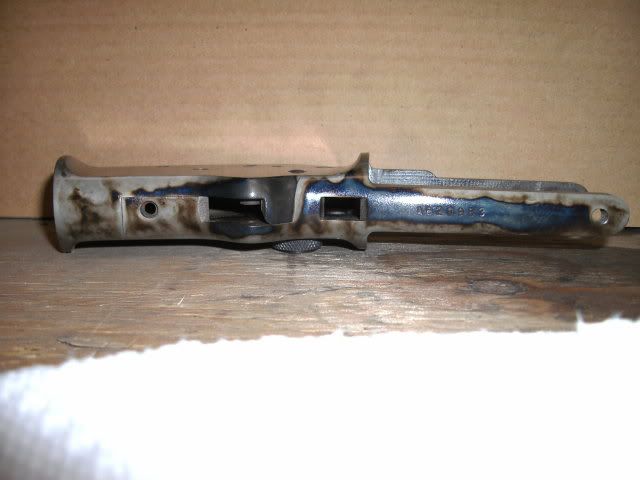
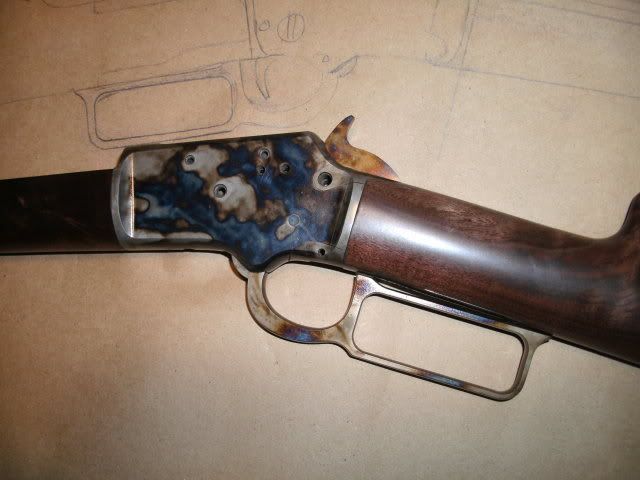
Well we been at it again. This time a Marlin 39M receiver. 2:1 wood bone ratio, distilled water aerated 46 degrees.
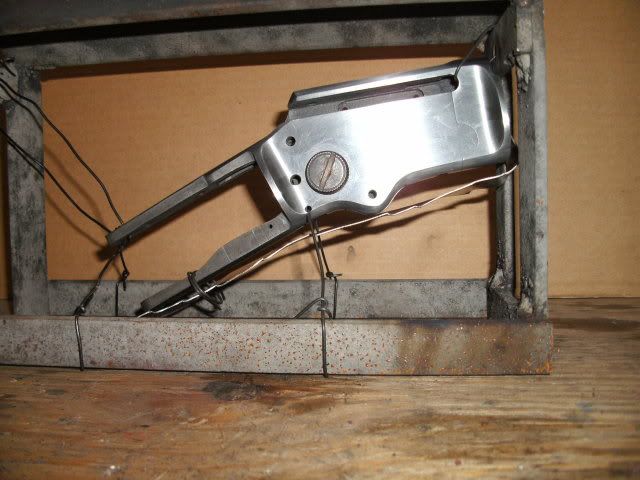
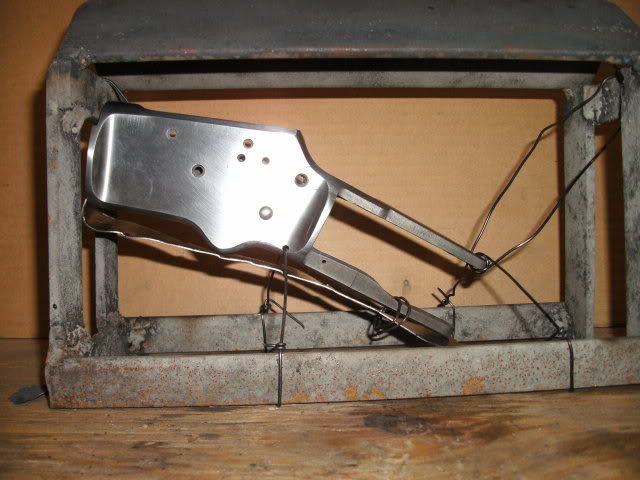
Here are the parts packed for the furnace.
Here it is out of the water
and in the lacquer
Brad Hurt
Here are the parts packed for the furnace.
Here it is out of the water
and in the lacquer
Brad Hurt
Re: Color case hardening
Brad,
By George, I think you've got it! Nice colors!
Thanks for sharing.
Jim
By George, I think you've got it! Nice colors!
Thanks for sharing.
Jim
Re: Color case hardening
Thanks Jim, I consider that very high praise indeed.
Here is the rest of that gun. We did the rest of the parts last weekend, but I am just getting around to posting pics now.
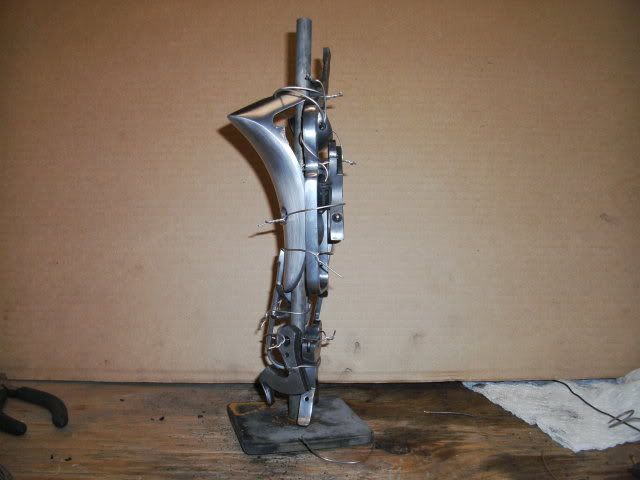
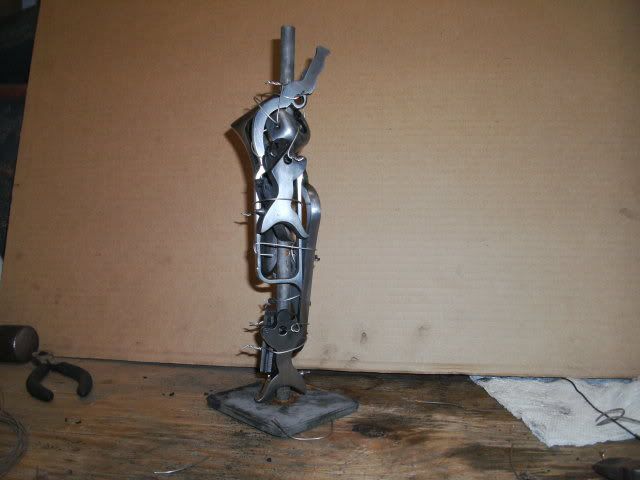
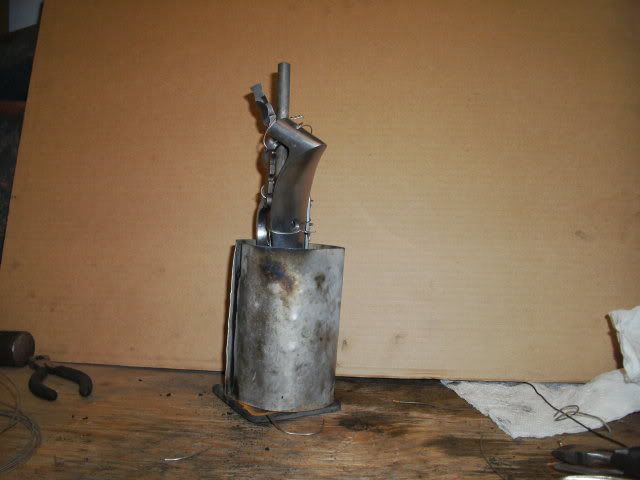
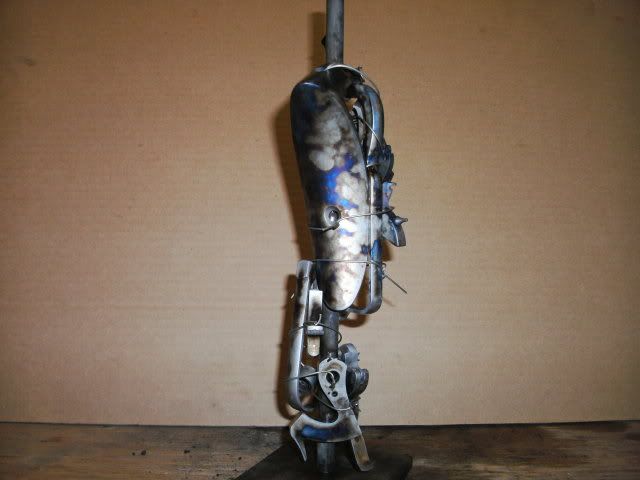
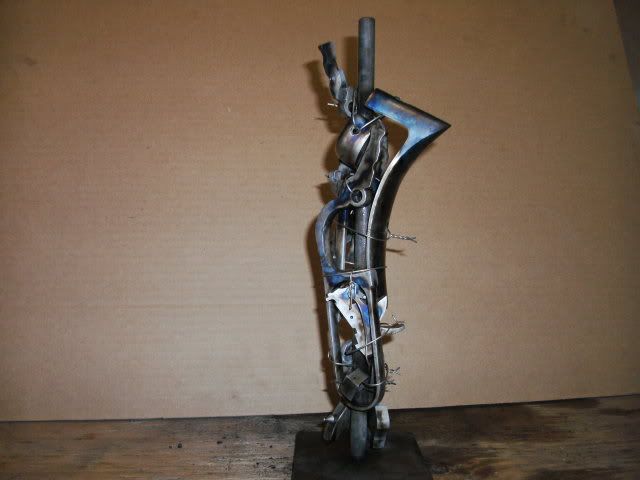
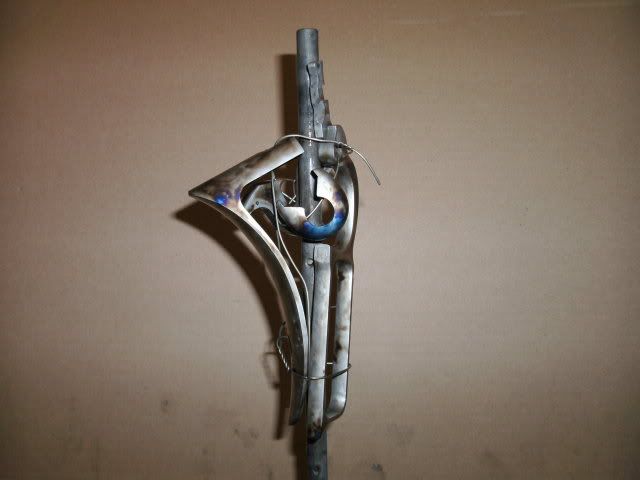
Here is a rather large pack of small parts. Inside are the parts from the Marlin 39 along with a K-frame S&W hammer and trigger. And Hammers from 2 different Italian SA hammers.
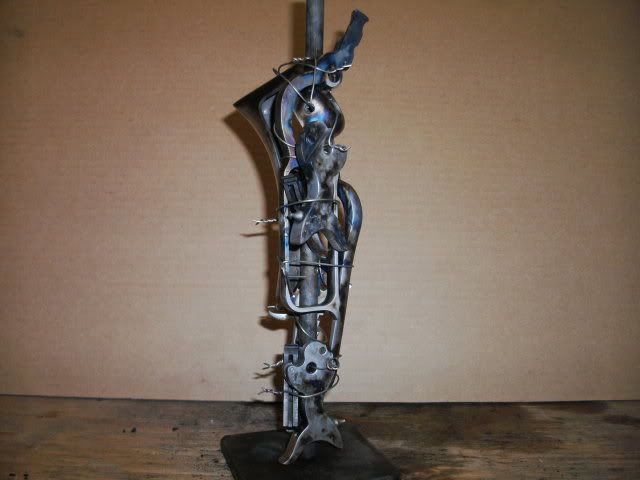
Here are the parts wire up and ready to pack
The only thing that is not readily apparent is the arrangement of the shield in the last photo. This tree is placed upside down in the crucible, the round sheetmetal shield goes in first. So as it comes out of the crucible and into the quench tank the shield will be at the top of the tree instead of at the bottom as you see here. I did a couple of test runs and it seems that the shield comes out in proper relation each time. This is an attempt to get more colors on my small parts.
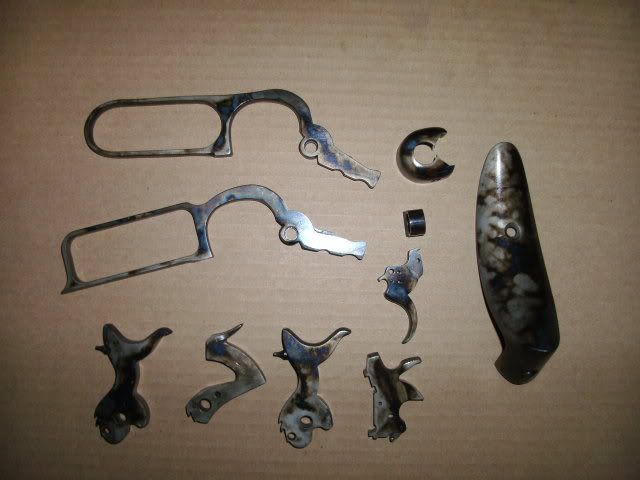
Here they are out of the quench.
and in the lacquer
Re: Color case hardening
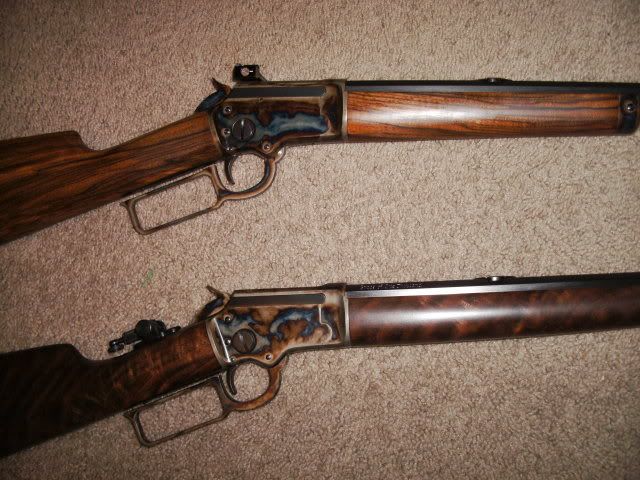
Here are a couple pics of the finished rifle. This belongs to my shooting partner Greg Pennell and he did all the work.
And here is a pic of the finished rifle next to one that belongs to me.
The rifle that belongs to me was sent to Doug Turnbull for case colors before I got back into this cch thing. The other rifle was done right here in my own shop.
Thanks for everything Jim. I blame my success in large part on you.
Brad Hurt
Re: Color case hardening
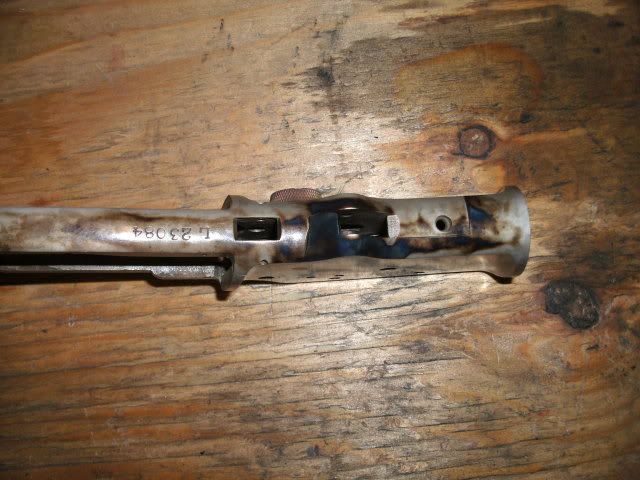
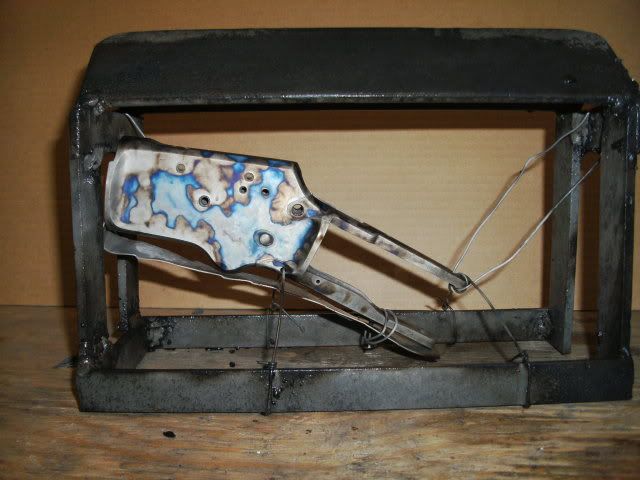
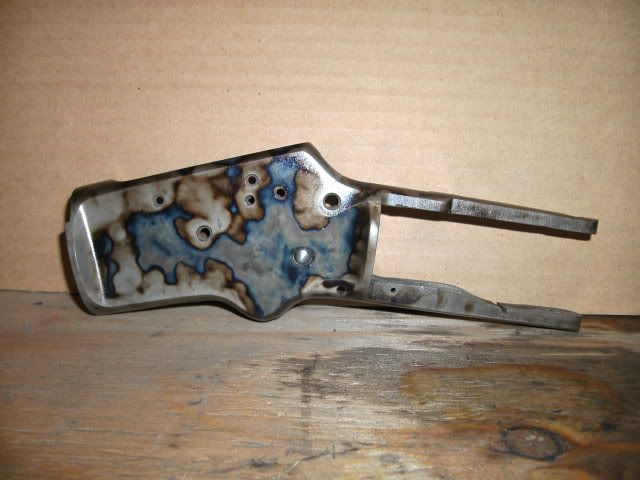
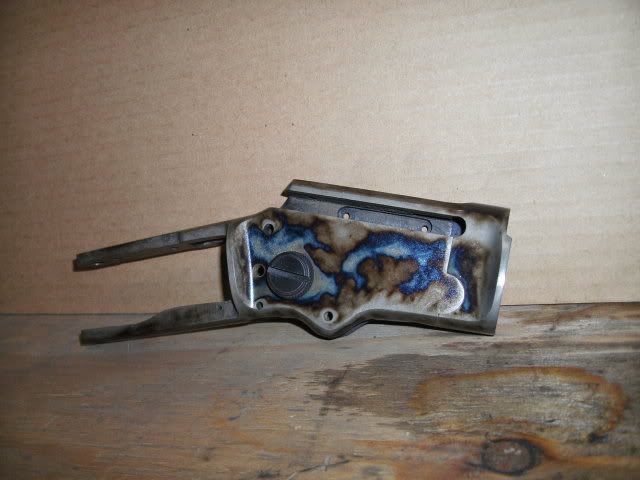
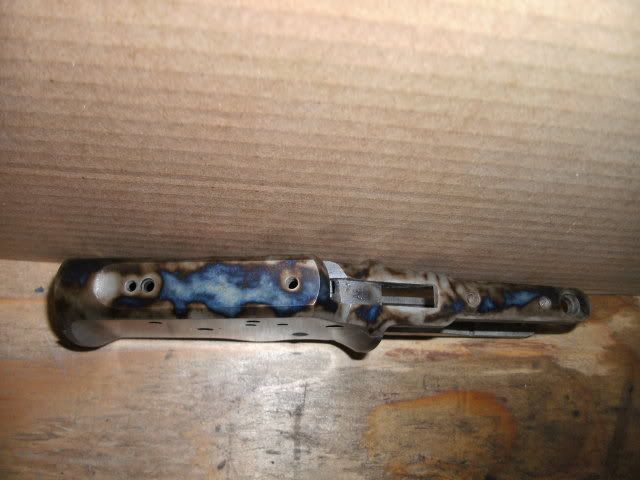
O.K. I have been working on a Marlin 39m for my girlfriend and this weekend was cch time. At the same time I wanted to experiment with a variation to arrive at a harder core for parts made of 4140.
I want to be able to do ruger single shots, and ruger single action, and any other modern 4140 so I took some scrap pieces of barrel stock ran them at 1350 then ramp to 1100 then quench. I milled through the case and had them hardness tested. they came out about 21 Rc. I figured if I ran them to no higher than 1100 and then quench I should be getting around 29-30 Rc.
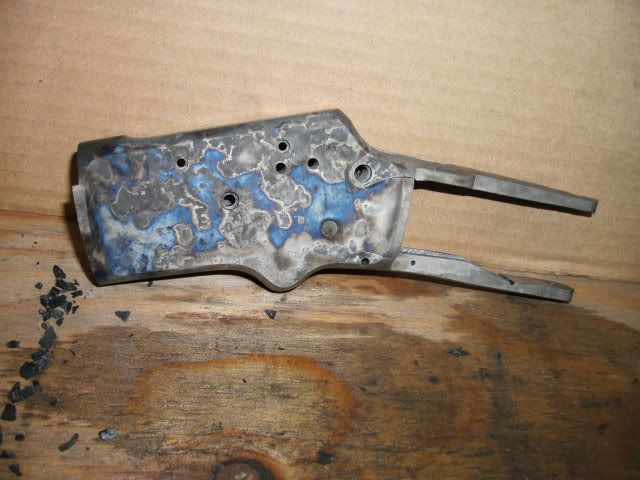
I am not too worried about weakening a 39m and these parts were ready to go so here is my guinea pig. Packed the parts in 1 1/2:1 wood bone Soaked at 1100 for 3 hrs and quenched here are the results.
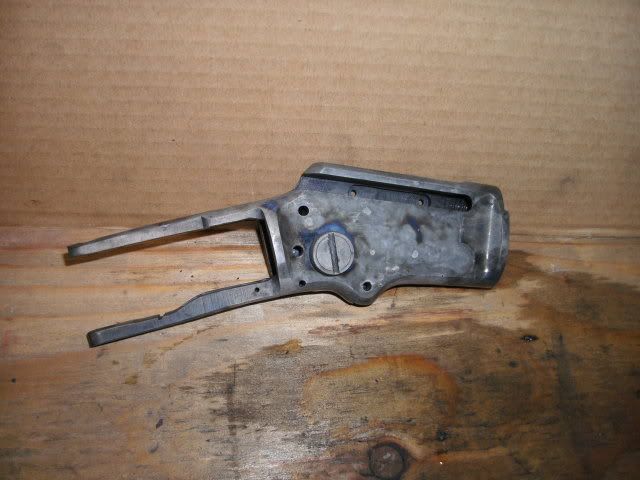
I thought maybe this wasn't enough time and the parts in the center of my crucible( almost 5" wide) were not getting to temp so I ran them again and same as before except a 5hr soak time at 1100 and quench. Here are the results.
Disheartening. Not sure what is going on here so I ran the same parts again at regular program. ramp to 1350 hold for 2 hrs. drop to 1100 hold for 1/2 hr then quench. Here are the results.
As you can see it came out great at this setting. Any help on getting colors at the lower temp would be appreciated. I might try the same again on some junker parts at 1150 and 1200. and see if I can get colors and then hardness test. Thoughts?
Brad Hurt
I want to be able to do ruger single shots, and ruger single action, and any other modern 4140 so I took some scrap pieces of barrel stock ran them at 1350 then ramp to 1100 then quench. I milled through the case and had them hardness tested. they came out about 21 Rc. I figured if I ran them to no higher than 1100 and then quench I should be getting around 29-30 Rc.
I am not too worried about weakening a 39m and these parts were ready to go so here is my guinea pig. Packed the parts in 1 1/2:1 wood bone Soaked at 1100 for 3 hrs and quenched here are the results.
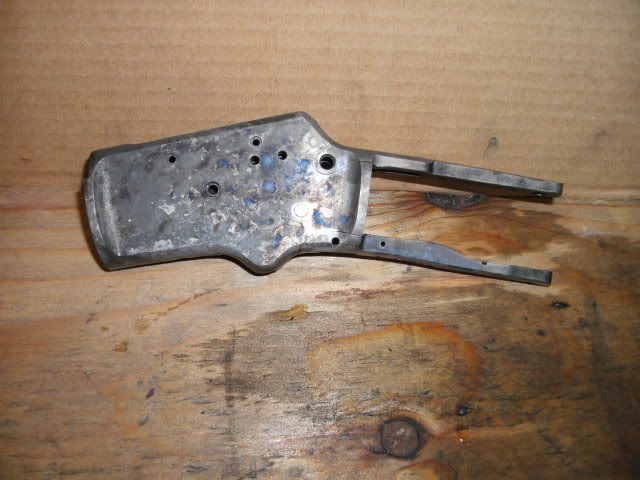
I thought maybe this wasn't enough time and the parts in the center of my crucible( almost 5" wide) were not getting to temp so I ran them again and same as before except a 5hr soak time at 1100 and quench. Here are the results.
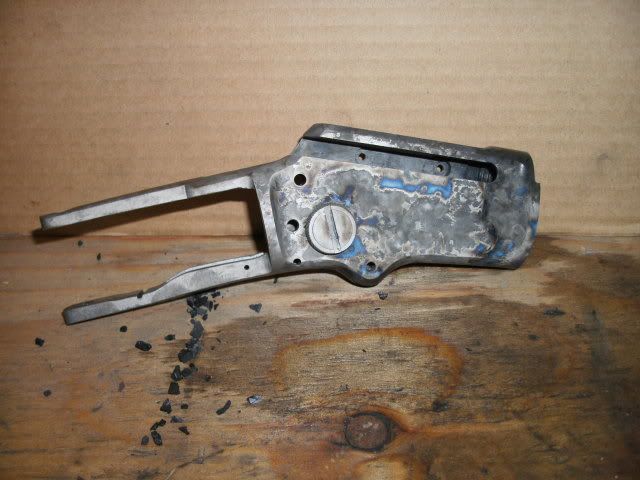
Disheartening. Not sure what is going on here so I ran the same parts again at regular program. ramp to 1350 hold for 2 hrs. drop to 1100 hold for 1/2 hr then quench. Here are the results.
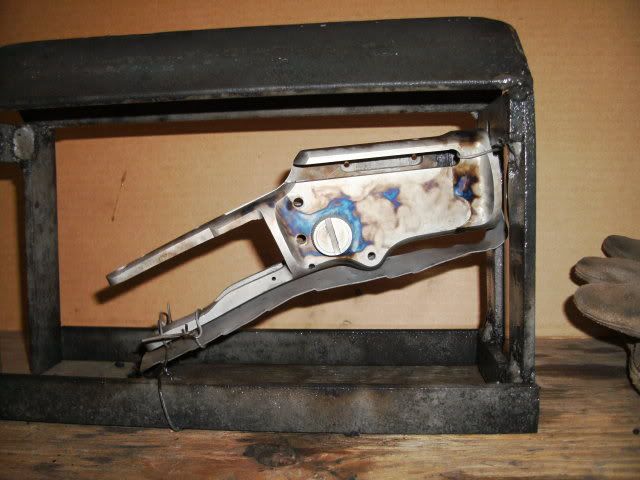
As you can see it came out great at this setting. Any help on getting colors at the lower temp would be appreciated. I might try the same again on some junker parts at 1150 and 1200. and see if I can get colors and then hardness test. Thoughts?
Brad Hurt
Re: Color case hardening
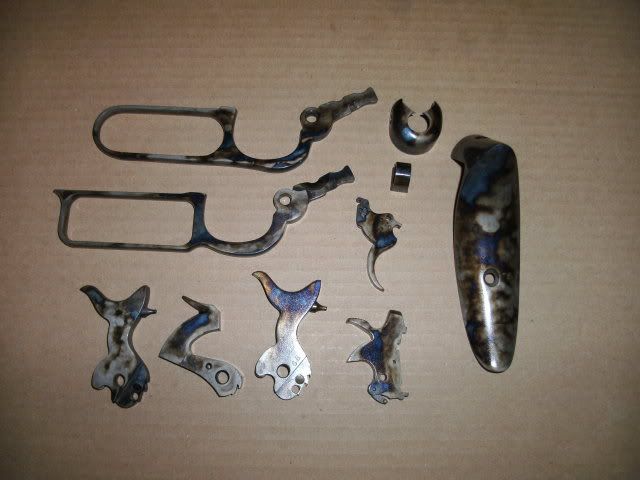
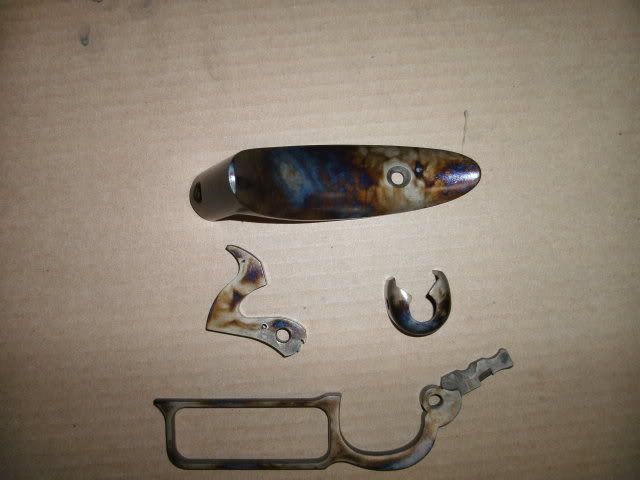
Here are the small parts for this gun.
Still having trouble getting consistency on the small parts. These are o.k. I really like the forend cap. I will probably try to redo the rest and try some different shielding. Thoughts?
Brad Hurt
Still having trouble getting consistency on the small parts. These are o.k. I really like the forend cap. I will probably try to redo the rest and try some different shielding. Thoughts?
Brad Hurt
Re: Color case hardening
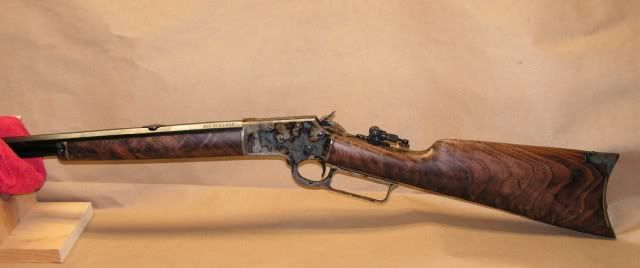
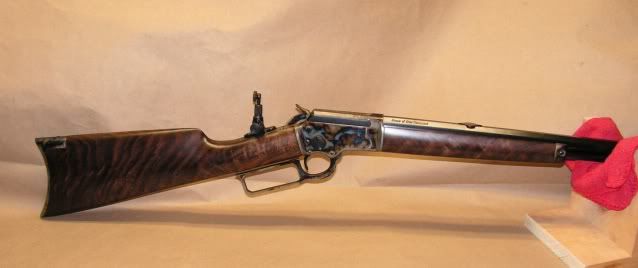
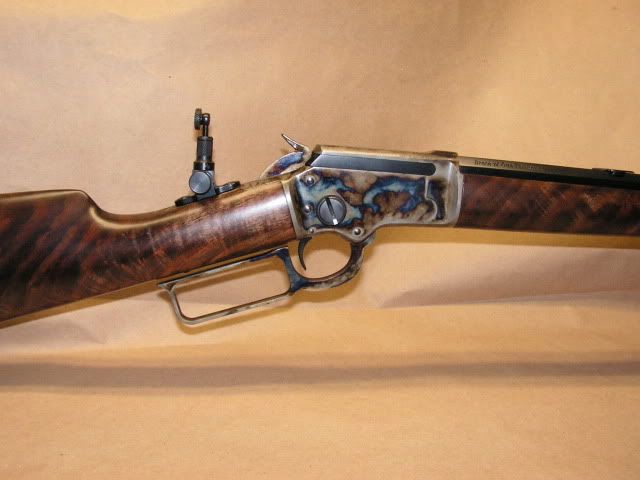
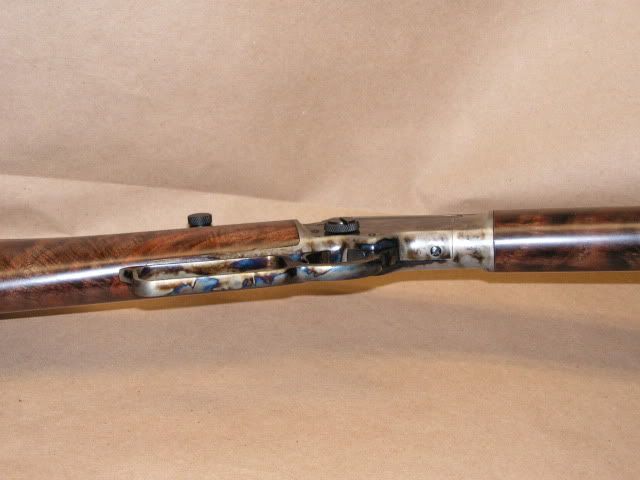
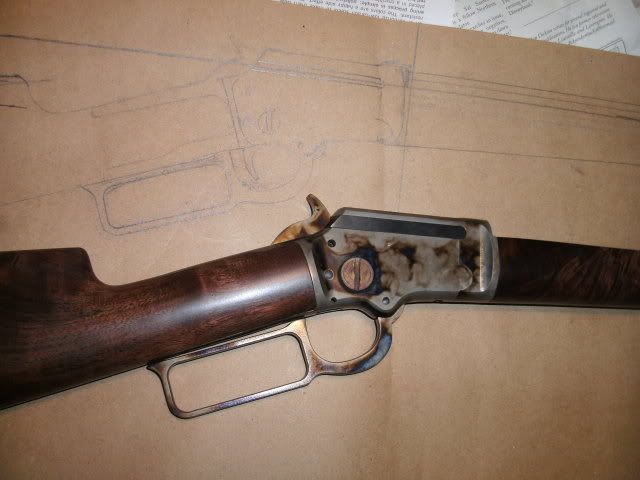
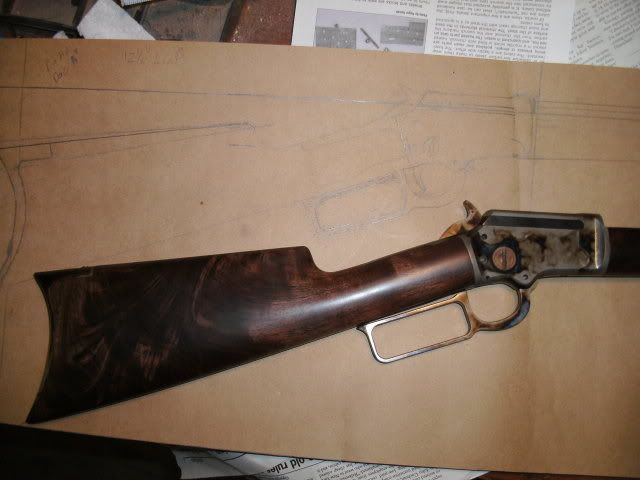
Couldn't resist sticking the wood on and taking a few pics. This is a nice stick of wood but it soaks up light of the camera flash at night in my shop. Hope you can see the grain of the wood ok. I still have the rust bluing to do and the stock has not been checkered yet. I think she has decided on a Marlin C pattern that wraps completely around under the stock. I stuck a dummy bolt and screws in just for pics.
Brad Hurt
Brad Hurt
-
- Distinguished Expert
- Posts: 807
- Joined: Mon Nov 11, 2002 12:15 pm
Re: Color case hardening
Thank you for posting the pictures. You are making good progress and learning each time. The rifles are really looking good.
It's a chancey job and it makes a man watchfull....and a little lonely.